Practice the key ideas of one-point perspective by identifying horizon lines, placing vanishing points, and planning room drawings with walls, floors, ceilings, furniture, and details.
Read each prompt carefully. Sketch lightly when asked, use a ruler for straight perspective lines, and label important parts of your drawing.
Create believable interior spaces using a horizon line and one vanishing point
Art & Design - Grade 6-8
- 1
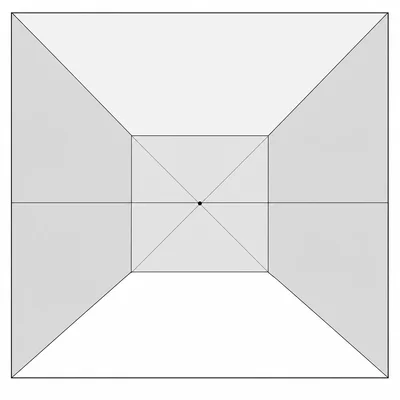
Define one-point perspective in your own words. Include the words horizon line and vanishing point in your explanation.
- 2
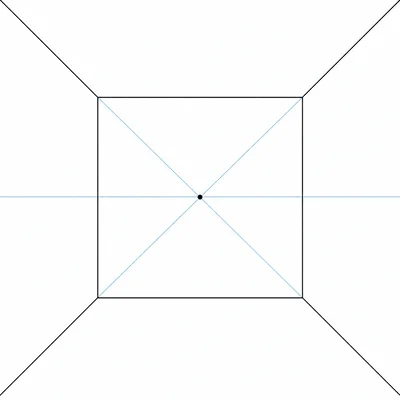
Look at a blank room drawing. The back wall is a rectangle in the center of the page. Where should the vanishing point be placed for a basic one-point room?
- 3
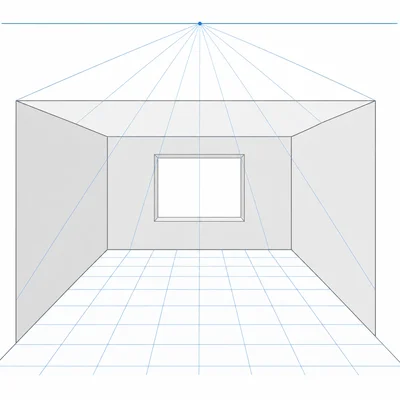
A student draws a horizon line very high on the page. Describe how this choice changes the viewer's point of view inside the room.
- 4
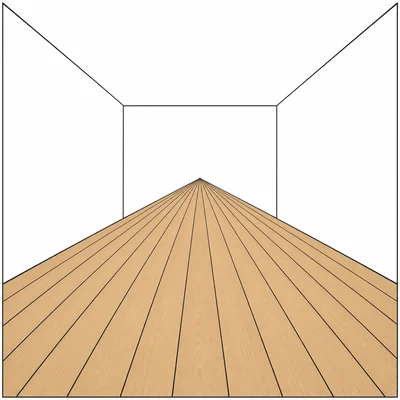
Explain why the floorboards in a one-point room should get closer together as they move toward the vanishing point.
- 5
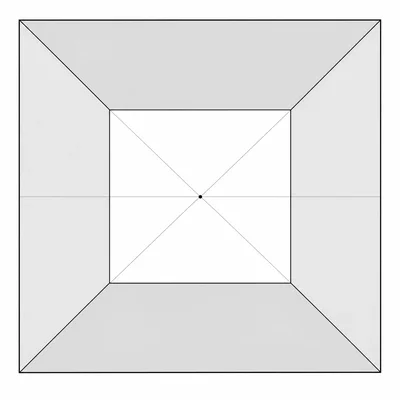
Sketch a small one-point room box. Label the horizon line, vanishing point, back wall, left wall, right wall, ceiling, and floor.
- 6
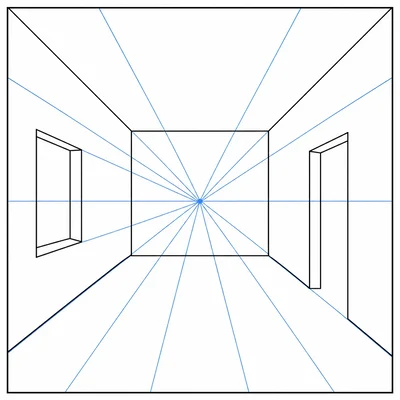
In a one-point room, which lines stay horizontal and which lines go to the vanishing point? Give one example of each from a room drawing.
- 7
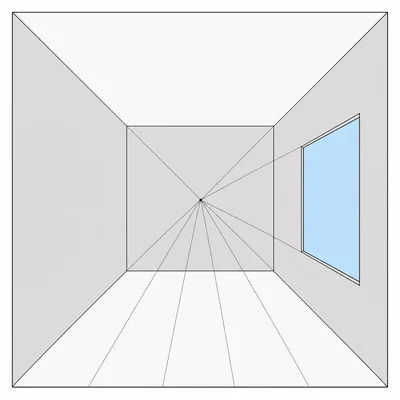
A window is on the right wall of a one-point room. Describe how the top and bottom edges of the window should be drawn.
- 8
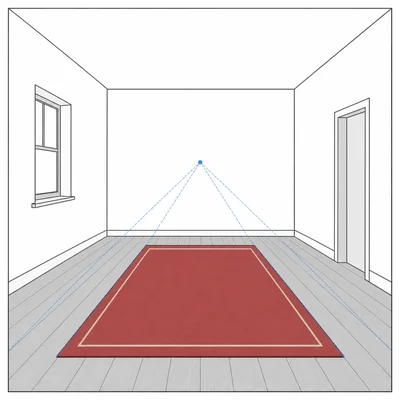
A student draws a rug on the floor, but the sides of the rug do not point toward the vanishing point. Explain what is wrong and how to fix it.
- 9
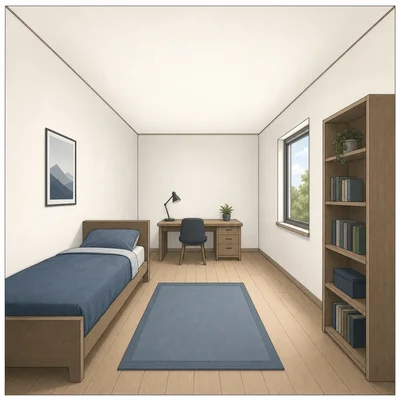
Plan a one-point perspective bedroom. List at least five objects you could include, and explain where you would place one of them in the room.
- 10
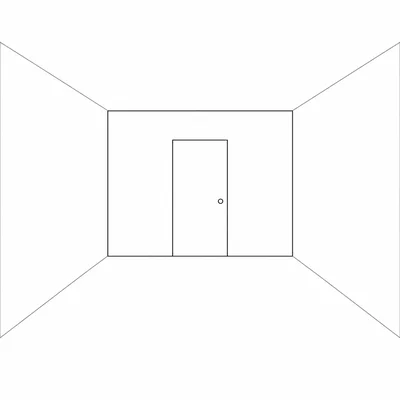
Draw a door on the back wall of a one-point room. Explain why the door does or does not need to angle toward the vanishing point.
- 11
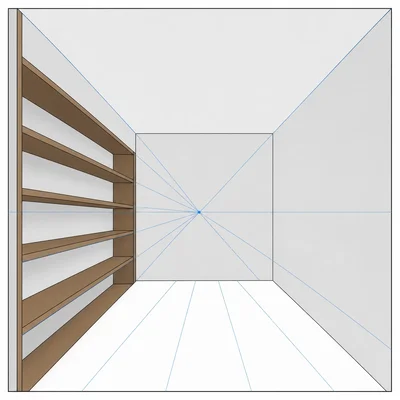
Draw a bookshelf on the left wall of a one-point room. Describe how the shelves should be angled.
- 12
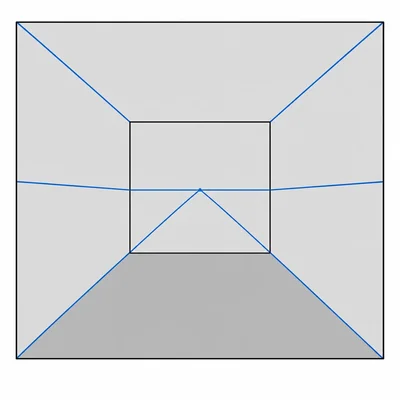
A classmate says, "All lines in one-point perspective must go to the vanishing point." Explain why this statement is not correct.
- 13
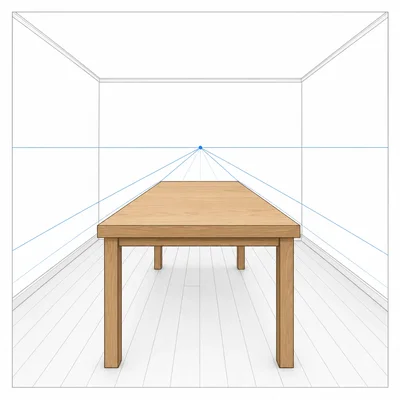
Describe how you would make a table in the center of the room look three-dimensional using one-point perspective.
- 14
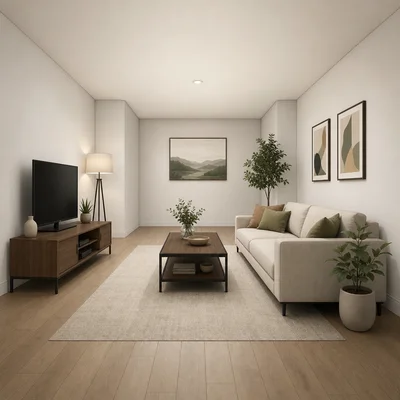
Choose one detail that could make a one-point room feel more realistic, such as shadows, wall art, floor pattern, or furniture size. Explain how it improves the drawing.
- 15
Review your own one-point room sketch. Write a short checklist of four things you should check before calling it finished.